Retouch of a Smart Object by using the filter Liquify
For retouching an image, the filter Liquify is a really nice tool in Adobe Photoshop. Maybe you’re a bit reluctant to use this functionality because of its destructive nature (destructive means that the changes you make are final; the original content shall be modified). However, with the updated version of Photoshop CS 6.1 onwards, it has become possible to apply the Liquify filter to Smart Objects. This means that even after applying this filter, we can reopen its dialog and carry on working from where we left off. The feature has become non-destructive.
What is a smart object?
Smart objects are layers hat contain image data from raster or vector images. They preserve the image’s source content with all its original characteristics. Filters that are applied to smart objects are non-destuctive. They can be reversed at any moment. If the filter Liquify can be applied to a smart object, this implies that the filter Liquify has become a smart, non-destructive filter!
How to create a smart object?
There are different ways to create a smart object. NB: Before creating a smart object, first duplicate the layer.
1. Choose File -> Open as Smart Object. Select the file and click Open.
2. Choose Layer -> Smart Objects -> Convert to Smart Object to convert an open layer to a smart object.
3. Choose File -> Place to place a file into an open Photoshop file.
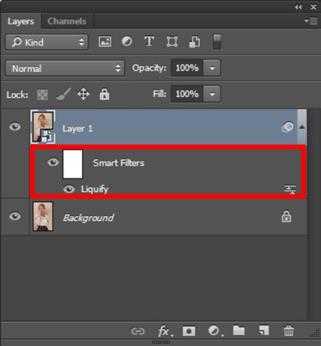
An icon will appear in the layer thumb that lets you know that the layer has become a Smart object.
Retouching an image by using the filter Liquify
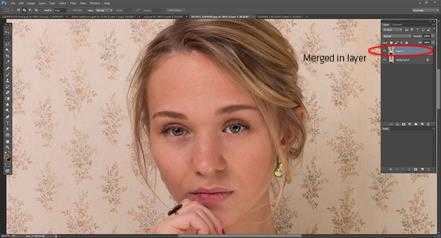
This filter Liquify allows to push, pull, rotate, reflect, pucker, and bloat the pixels of any image. We will test it by trying to (digitally) cheer up the lady in the image below.
We start by selecting the layer including the smart object. Then we go to Filter > Liquify
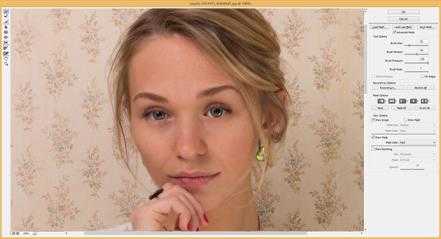
A new window opens. We select the advanced mode. This offers various options for customization. We select the Forward Warp Tool. This tool basically pushes the pixels of an image forward as you drag. On the right panel you can control the amount of pixels pushed by changing the brush size in the Brush Options. The larger the brush the more pixels will be pushed forward. We set the brush size at 90, the density at 60 and the pressure at 100. Now by placing the mouse in the image, we retouch some parts to make the girl look happier. Below you see the final result.
After applying the filter, we are still able to do more adjustments in the layer, or to reverse adjustments done. We always have the opportunity to change our mind later after using the filter. This has made the new filter Liquify much more user friendly as it was before!


