Using Iris Blur Filter in CS6
Last week, we discussed about Filter Blur. Today we will look into second type of blur available in filter option of CS6 – Iris Blur. In Filter Blur, we applied blur with the help of pins. In Iris blur, we again use similar multiple pins but here we have more control on how we want to apply the blur effect than in field blur.
In each pin, we can define area covered, angle, density of blur to be applied and also change the shape of the area selected. As in field blur, in Iris blur also – we can apply as many pins as required in an image and those pins can be moved easily by dragging in required areas.
Here is an example how to use this filter option:
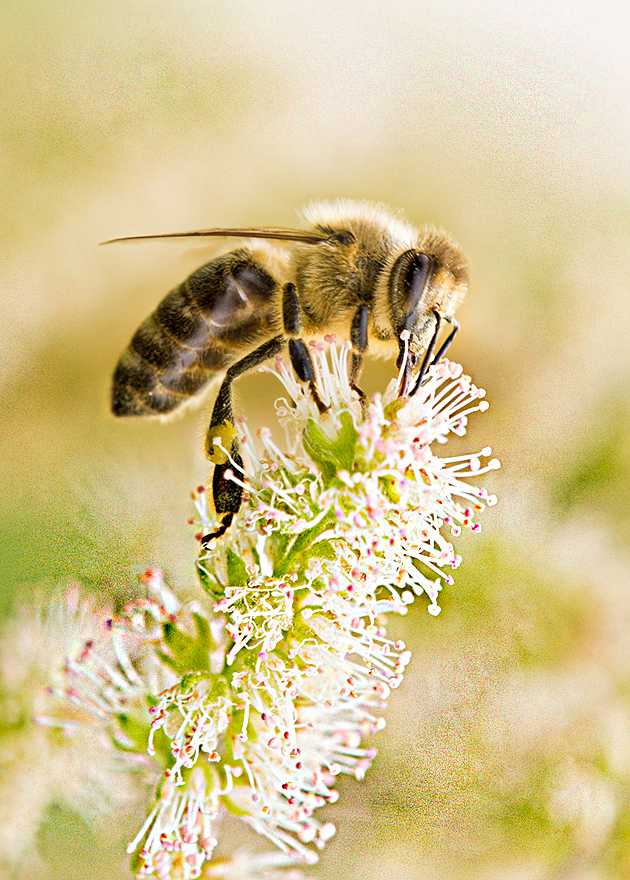
Raw image:

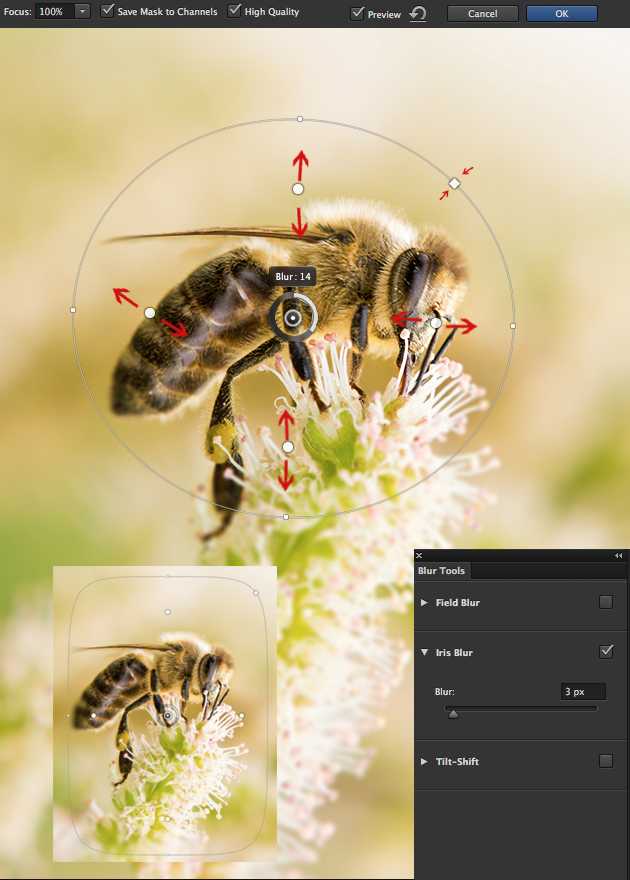
For Iris Blur – Select Filter > Blur > Iris Blur. The blur tool panel opens to Iris Blur option and photoshop adds an initial pin for us which we can use to control how and where the blurring effect is applied. Like in Field Blur, with the center circle / ring, we can define the amount of blur to be applied. Unlike in field blur, there is an outer ring with small square dots at its circumference. We can change the shape of this outer ring if required with the help of those square dots– small square dots changes circle to oval shapes whereas there is also one bigger square dot available that changes selected circle area to square or rectangular area.
 Apart of this just outside the center ring, there are four white bigger circular dots available. With the help of those white bigger dots, we can define where the transition area of blur begins. The area between the center of the pin and these larger dots is completely protected from the blur effect, maintaining the same amount of sharpness and focus as the original image.
We can change the focus of center protected area by changing focus value from the top option bar. In same option bar, we can save applied blur effect as mask in channels using Save Mask to Channel option. There is also preview and undo options available in this bar. Finally to apply the blur, we need to click “OK” in the option bar.
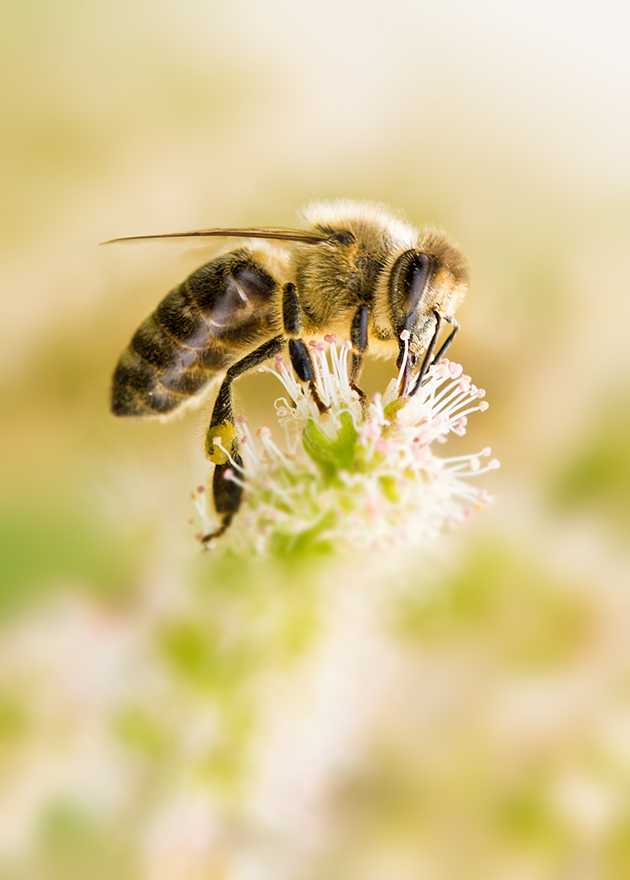
End result:

