Create your own little planet in Photoshop
Some creative graphic experiments are really simple to do, and can end up in a very nice result. Photoshop has got various features and filter plugins that help you creating very nice images. Since Adobe Photoshop CS 6 version, the “POLAR COORDINATES” filter has become available. This filter turns a panoramic image into a 360 degree image which makes the image look like a planet. We’ll demonstrate how this works with the following example.
Create your own little planet
Step 1:
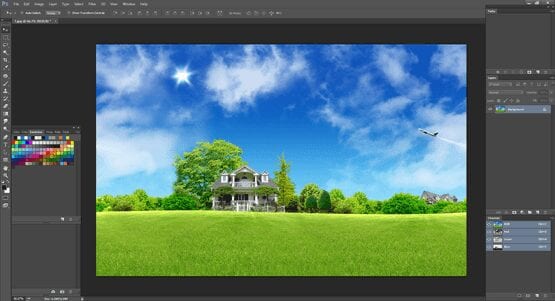
Choose a right image. This step is the most important one in the process of creating a little planet. Important factors to take into account when selecting your image is that the image has a good amount of constant sky and a ground without any breaks in-between that has clean edges. Selecting a good image may take some more time than applying the technique itself. For this example, we have used an image that has a clear sky and a clean ground with some trees that end on the same level on each side of the image.

Step 2:
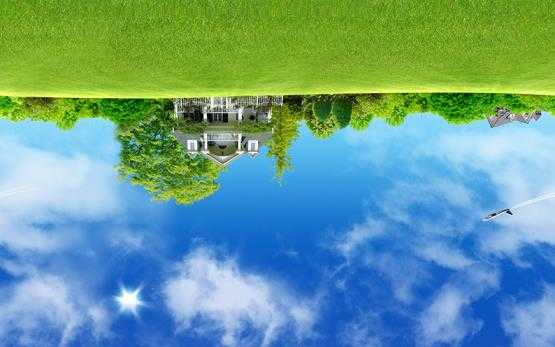
Go to the menu and choose Edit > Transform > Rotate 180 degrees. The image will appear upside down.
Step 3:
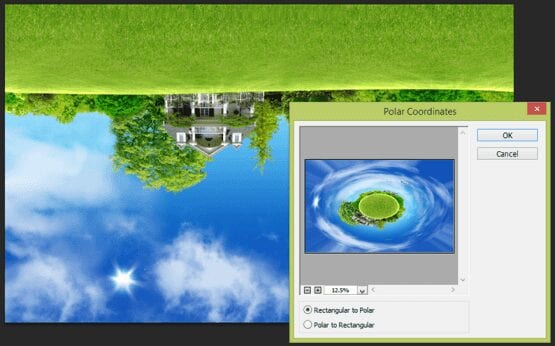
This is the most interesting part of process. Go to the menu and choose Filter > Distort > Polar Coordinates. On the Polar Coordinates window, select “Rectangular to Polar” and press “OK”. Depending on the Speed of your pc and the image size, it may take some time to process.
Step 4:
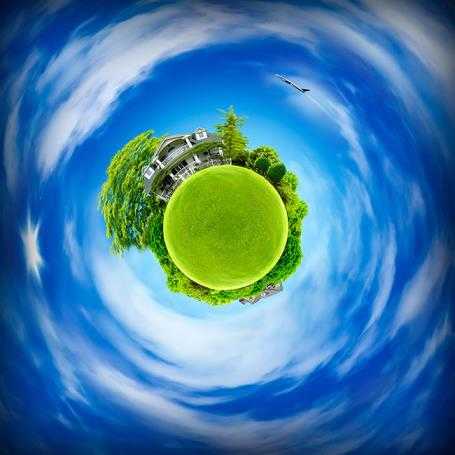
As our image is in rectangular shape, we go to image size and re-size the image to make it a complete square. Any sort of small breaks in between can be retouched. Below you find the final image.
Try it yourself!


