Creating high quality Patterns in Photoshop: A Step-by-Step Guide
Unlock the power of Photoshop by learning how to craft high-quality patterns that add a professional touch to your designs. Follow this tutorial to generate visually appealing patterns.
1. Open Photoshop and Select Your Icon
Begin by launching Photoshop and selecting an icon that will serve as the foundation for your pattern. In this tutorial, we’ve chosen a specific icon to demonstrate the process.
2. Access the Pattern Preview
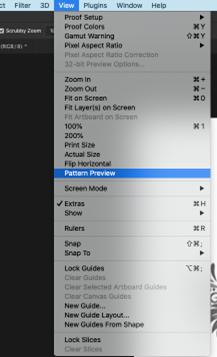
Navigate to the properties bar in Photoshop and click on “View.” From there, select “Pattern Preview.” This action prompts the appearance of dialog boxes essential for the pattern creation process.
3. Configure Settings and Duplicate Layer
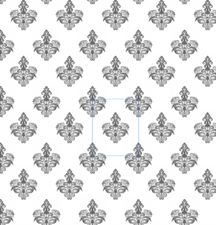
Click “OK” after configuring the necessary settings. Your workspace will transform accordingly.

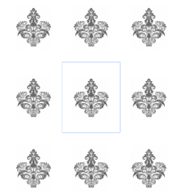
Duplicate the layer using the shortcut (Ctrl + J) or through the menu. Drag the edges of the icon onto the blue box.
4. Define the Pattern
With the layer duplicated, use the “Edit” option in the properties bar to define the pattern.
This step finalizes the creation of your pattern template.
5. Create a New Document
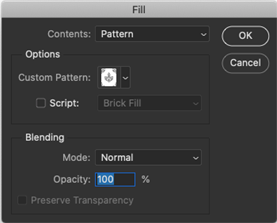
Open a new document with dimensions of your choice; for example, 1080px x 1080px. You can fill the document by selecting the “Fill” option in the properties bar or by pressing the shortcut (F5). Customize the contents by choosing the pattern option in the dialog box, and then click “OK.”
6. Your Professional Pattern is Ready
Congratulations! Your pattern template is now ready for use. The final output is a professionally crafted pattern that can enhance the visual appeal of your designs.
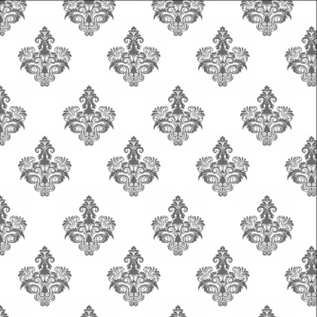
By following these straightforward steps, you can unlock the potential of Photoshop to create patterns that elevate the quality of your projects. Experiment with different icons and settings to tailor your patterns to specific design needs.

