Quick White Balance Correction in Camera Raw & Photoshop
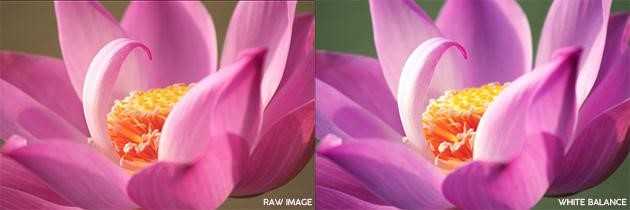
White balance is the process of removing unrealistic color casts, so that objects which appear white in person are rendered white in your photo. White balance in digital photography means adjusting colors so that the image looks more natural. We go through the process of adjusting colors to primarily get rid of color casts, in order to match the picture with what we saw when we took it.
In this article we’ll explain 2 ways of correcting the white balance in an image:
- Correcting the white balance in Camera raw
- Correcting the white balance in Photoshop
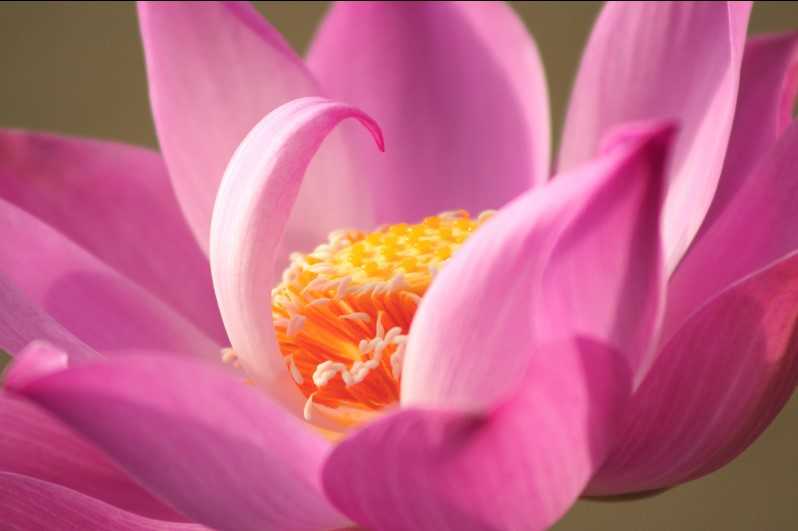
To demonstrate both ways of color correction we’ve used the flower image below (source: freeimages.com)
Camera Raw Method :
Open your image in the Camera RAW editor, then click the “White Balance Tool” button in the top menu to change your mouse pointer into the “White Balance Tool.”
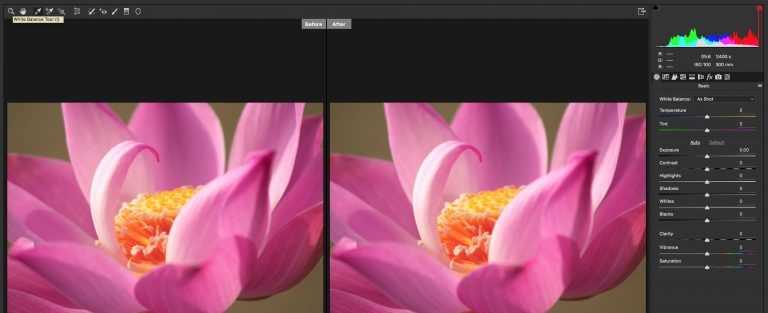
Then find a neutral gray area within the image. If a neutral gray area is not available, you can also find a white area. However, make sure that the white area selected is not secular white. After finding the gray area, click it with your mouse pointer to automatically correct the white balance within the image. To adjust the white balance within camera raw images using the “Basic” tab, click the “Basic” tab within the settings panel at the right side of the “Camera Raw” dialog box. Use the “White Balance” drop-down to select a preset white balance level. Note that the default setting, which is “As Shot,” will display the white levels using the metadata contained in the camera raw image. This is most often the same setting that will appear when the “Auto” preset is selected, as well.
Correct the white balance in Photoshop
Open your image in Photoshop, then go Filter>Camera Raw Filter and select the “White Balance Tool” within the Tools bar at the top of the “Camera Raw” dialog box.
Create a new layer and go Edit > Fill and choose to fill your layer with 50% gray.
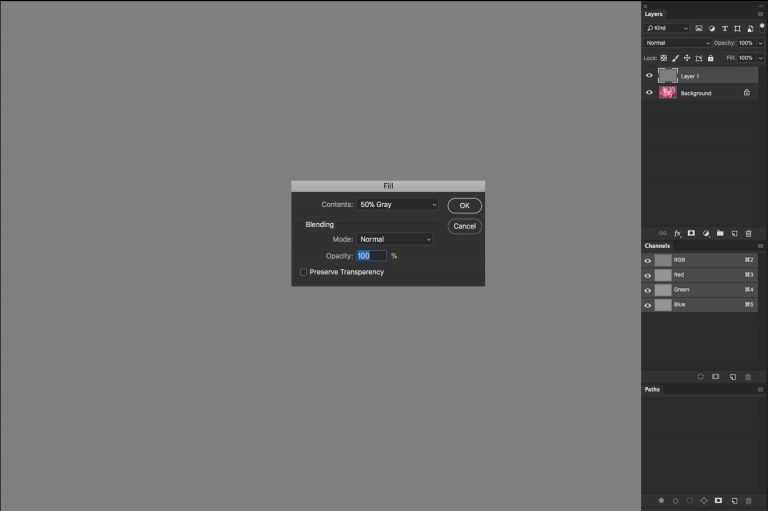
Set the layer blend mode to Difference then add threshold adjustment. Add a Threshold Adjustment Layer and set the Threshold level to around 10 -15.
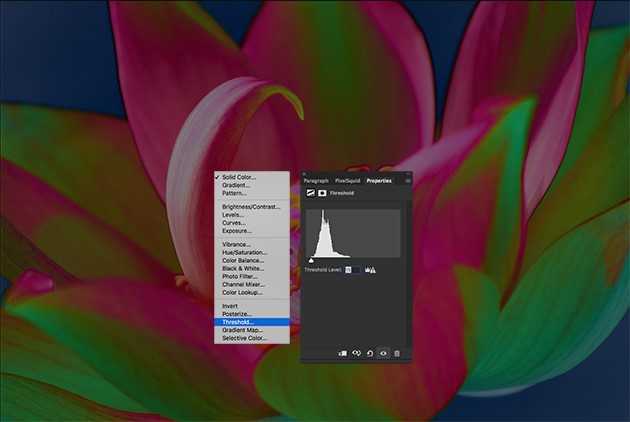
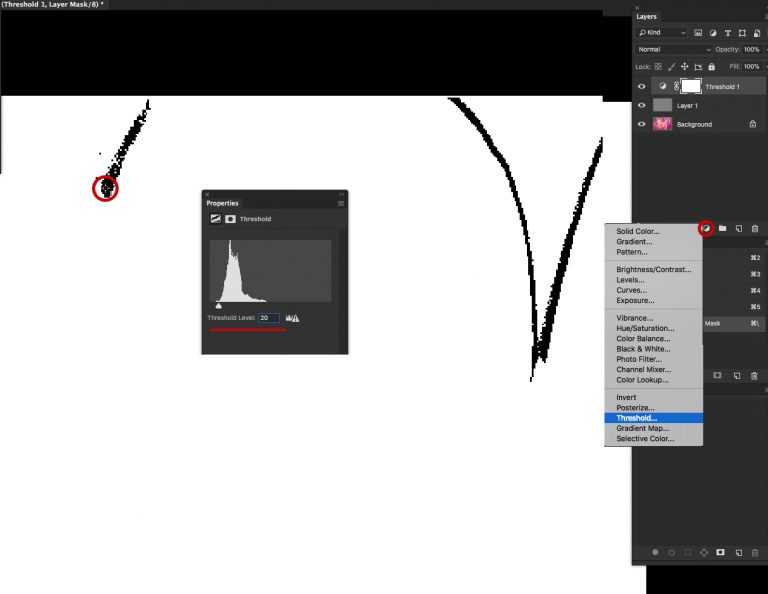
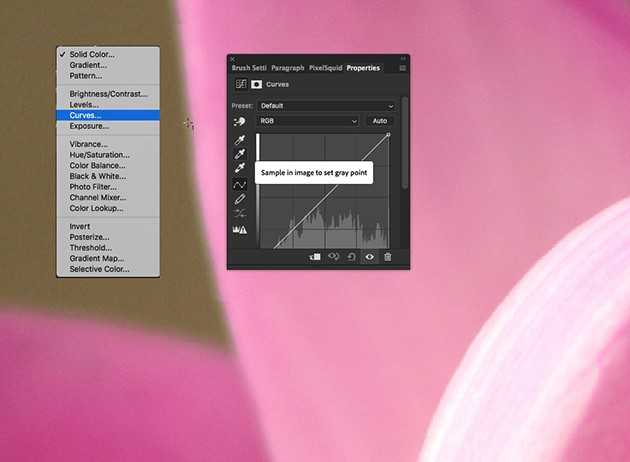
Grab the Eyedropper tool and hold down the Shift key and click to drop a color sample point over one of the black spots that has appeared. (These are the spots that are closest to a perfect 50% gray and will help us get the best color correction). Delete the Threshold and 50% gray layer and add a Curves Adjustment Layer and select the middle/gray eyedropper tool and zoom in on the eyedropper sample target and click once to balance the color via this gray spot.
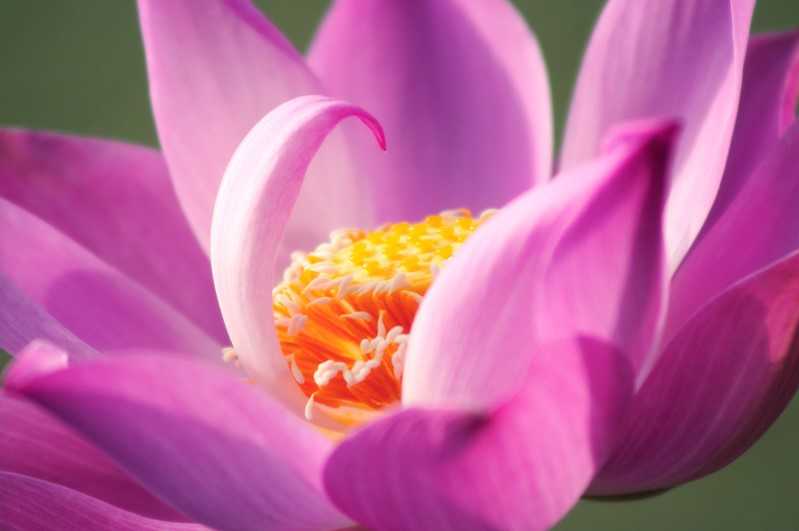
Final Image with White Balance Correction in Camera Raw & Photoshop:
More information on image editing?
Contact us, we’d be happy to help.
